5-minute Baguette
The 5 minute baguette - YouTube
| Ingredient | Quantity | Notes |
|---|---|---|
| Flour | 950g / 33.5oz / 7.6 cups | Use baker's flour or bread flour (high protein content, approx. 11.5g protein per 100g). |
| Salt | 2.8 tsp (16g / 0.56oz) | Use "good" teaspoons for accurate measurement. |
| Yeast | 3/4 tsp (2g / 0.07oz) | Instant or active dry yeast. |
| Water | 730ml / 25.7oz / 3.08 cups | Filtered, room temperature water. |
You can copy this Google Sheets Calculator to adjust quantities. I will ignore any requests to edit, you must make a copy in your Google Drive to use it.
Timeline Summary
| Step | Time Required |
|---|---|
| Mixing | 2 minutes |
| Rising | 8-10 hours |
| Shaping | 3 minutes |
| Baking | 25 minutes |
- For breakfast baguettes: Mix in the evening and bake in the morning.
- For dinner baguettes: Mix in the morning and bake in the evening.
- For flexibility: Mix the dough in the evening and bake at your convenience.
Recipe: Efficient Baguettes
Step 1: Prepare the Dough (2 minutes)
- Combine flour, salt, and yeast in a large bowl until it is mixed evenly.
- Add water, and mix until the ingredients form a cohesive ball (about 2 minutes).
- Cover the bowl and let the dough rise for 8-10 hours in a cool, draft-free place (e.g., inside a cold oven).
- Tip: If the ambient temperature is cold, warm the oven slightly (45°C/113°F), turn it off, and let the dough rise inside.
- Ideal Temperature Range for Dough Rising:
- Optimal: 24–27°C (75–81°F)
- Acceptable but slower rise: 20–23°C (68–74°F)
- Below 20°C (68°F), yeast activity slows significantly, and it may take much longer for the dough to rise.
- Below 4°C (40°F), yeast becomes dormant. While the dough won't rise at this temperature, it can be stored for extended fermentation in the refrigerator (cold-proofing).
- A slower, colder rise can lead to tastier bread[1]
Step 1.5: Dough Rising (8-10 hours)
The dough rises.
... or it doesn't. If the dough doesn't rise, don't panic! Turn it into a Flatbread, some of the best you've ever had.
Step 2: Shape the Dough (3 minutes)
- Lightly flour your work surface. Scrape the dough onto the surface, and dust the top with flour to prevent sticking.
- Divide the dough into 4 equal portions (or as desired for 2, 3, or 5 baguettes).
- Gently stretch each portion into a baguette shape. Avoid pressing too hard to retain air pockets.
- Place the shaped dough on a baking tray or parchment-lined plate.
Optional:
- Score proofed baguettes with a razor or sharp knife at a 45° angle.
- After transferring the baguettes to a baking tray or sheet, spritz the baguettes with water (or brush lightly).
Step 3: Bake the Baguettes (25 minutes)
- Preheat the oven to 250°C (480°F) with top/bottom heating (not hot air or forced air).
- Optional: Use the steam function if available, or add a pan of water for steam.
- Transfer the baguettes to the preheated oven.
- Bake for about 25 minutes, or until the crust is golden to your liking.
- Let cool before slicing, about an hour.
- Or you could eat one fresh and let the others cool... Just saying.
Notes
Flour:
- Use baker's or bread flour (high protein content).
- Adjust water if needed: Reduce if the dough is too runny. Experiment with different flours for optimal results.
Oven:
- Preheat with top/bottom heating, not forced air.
- Experiment with tray positions for even baking.
Experiments
I varied from the recipe a little here, specifically to get a little but of a crispier/shinier crust, and to try to control how the dough let off steam. I also let the dough rise for 12 hours instead of 8-10 because I got excited and started the process too early, but my house also gets down to 60-62 degrees at night, so that might have been fine.
NOTE: I also added a baking sheet of water to the oven to make the whole thing steamier.
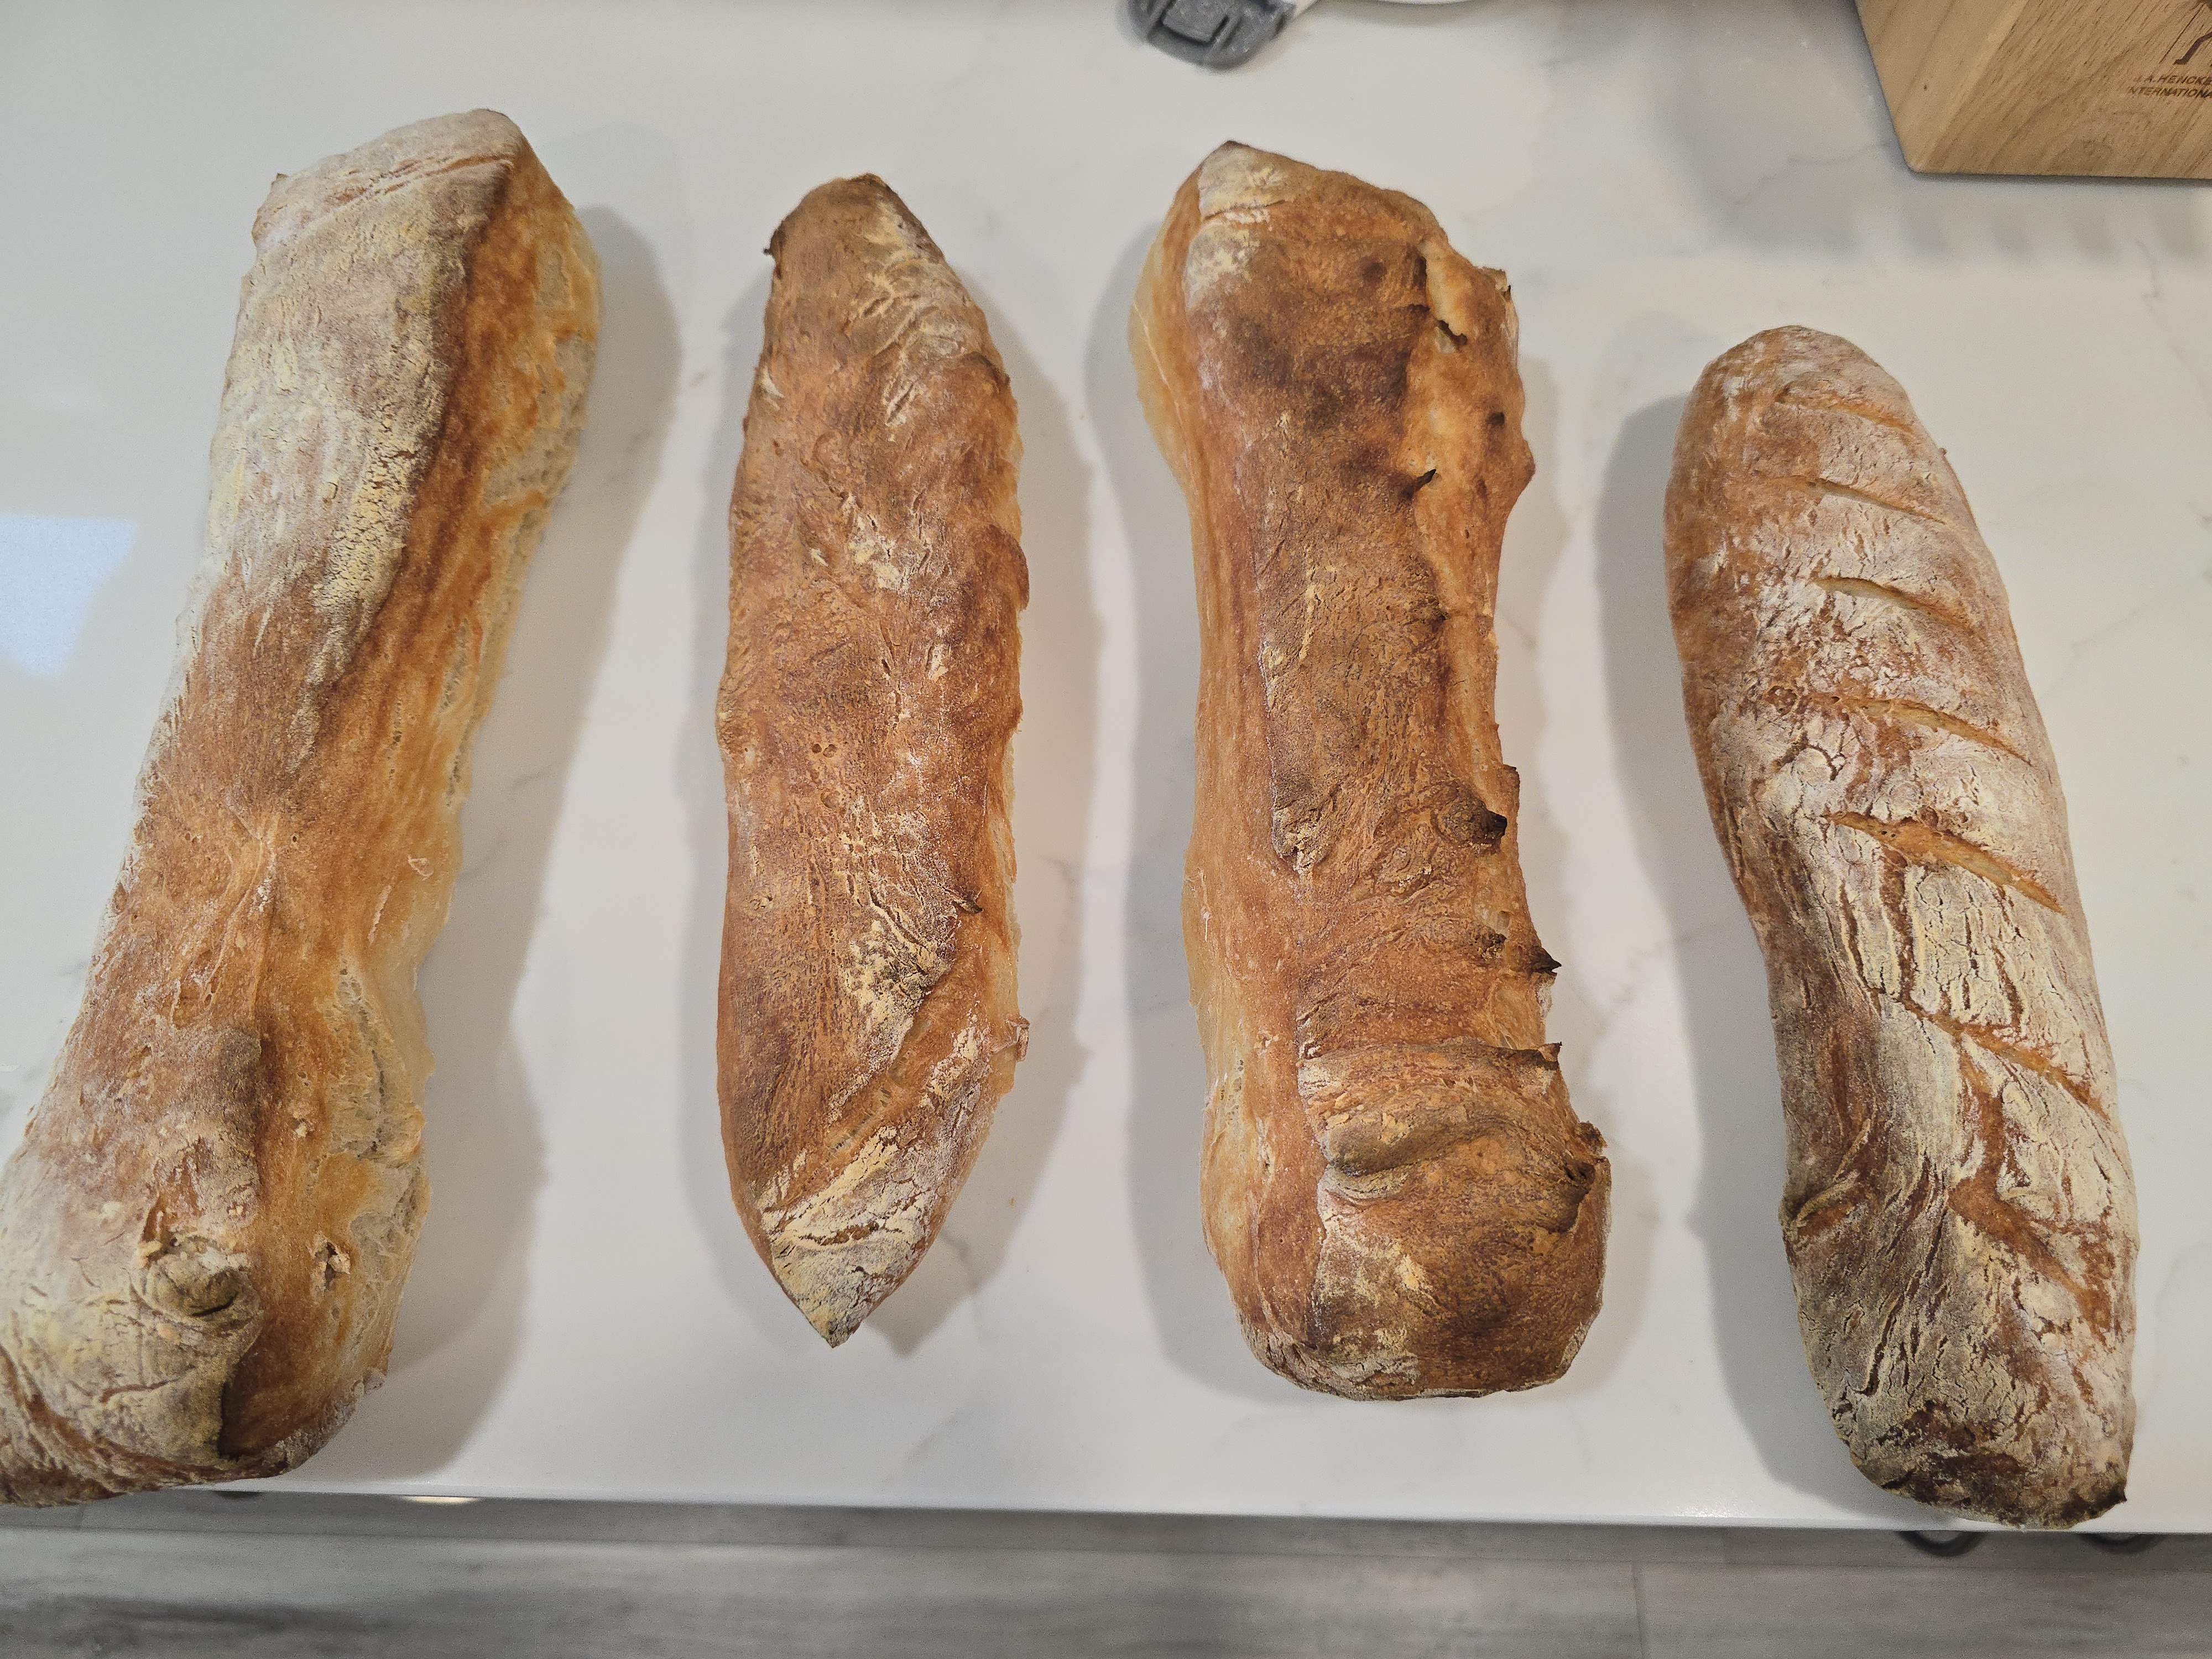
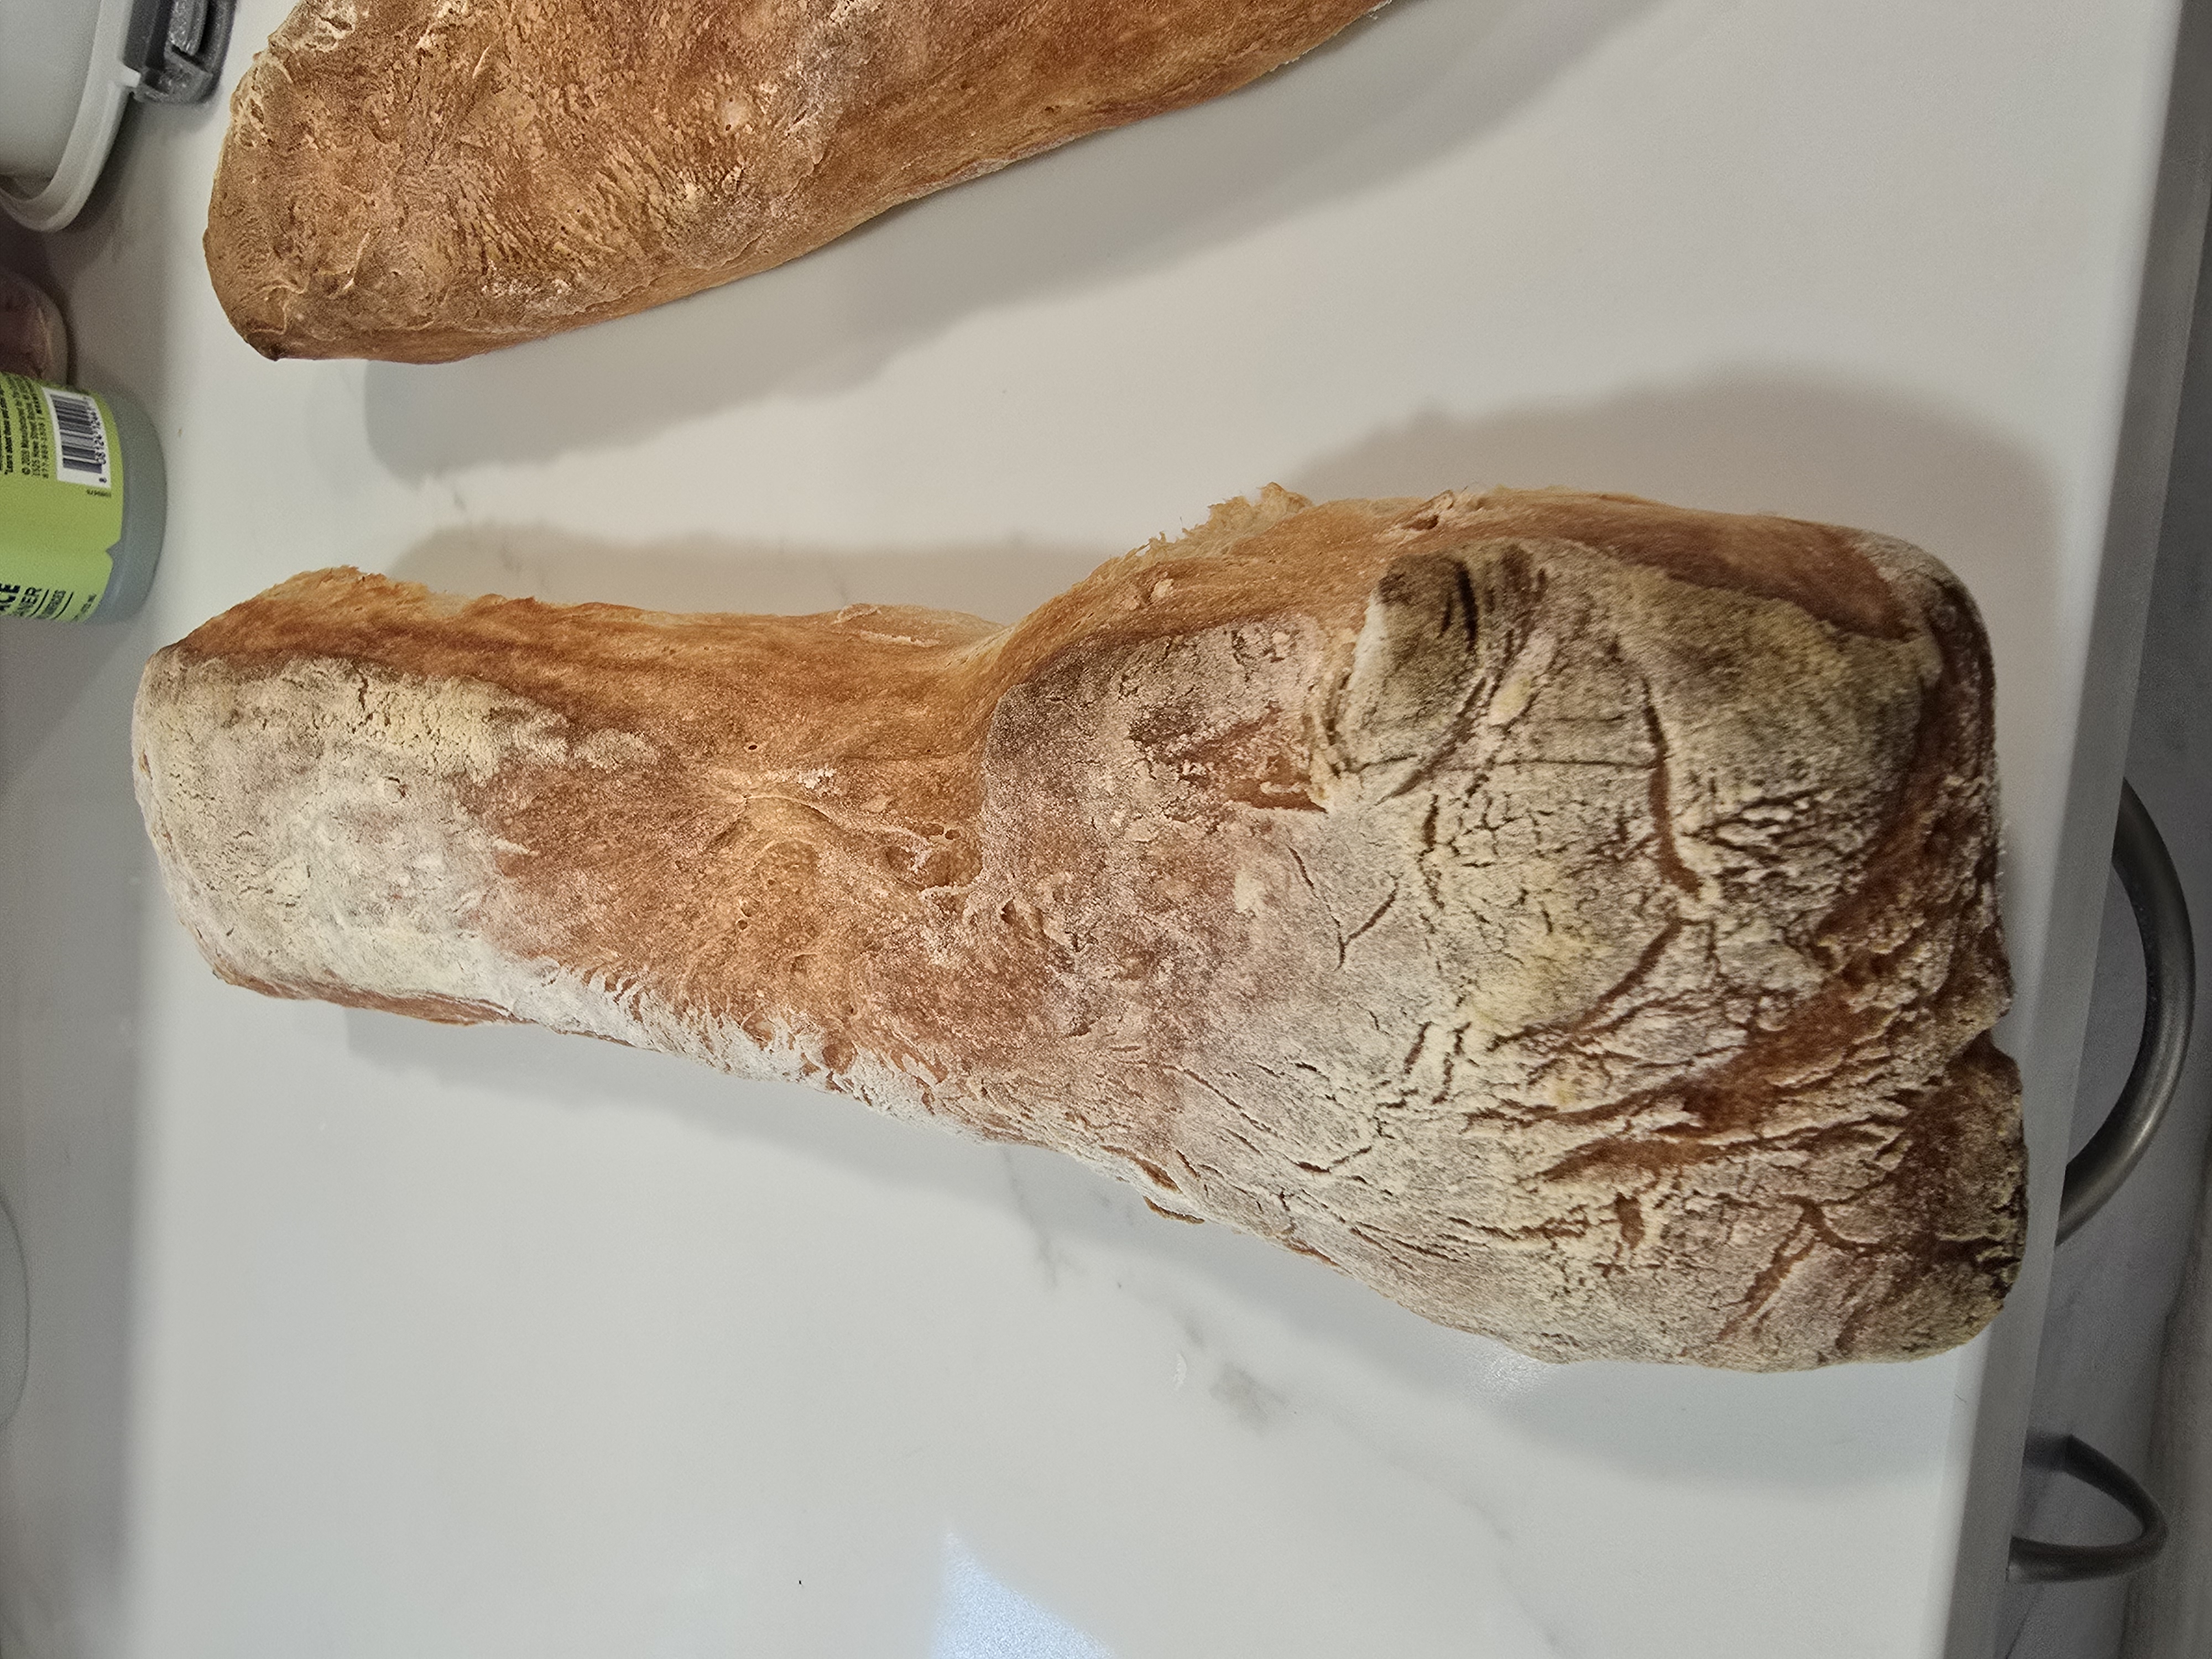
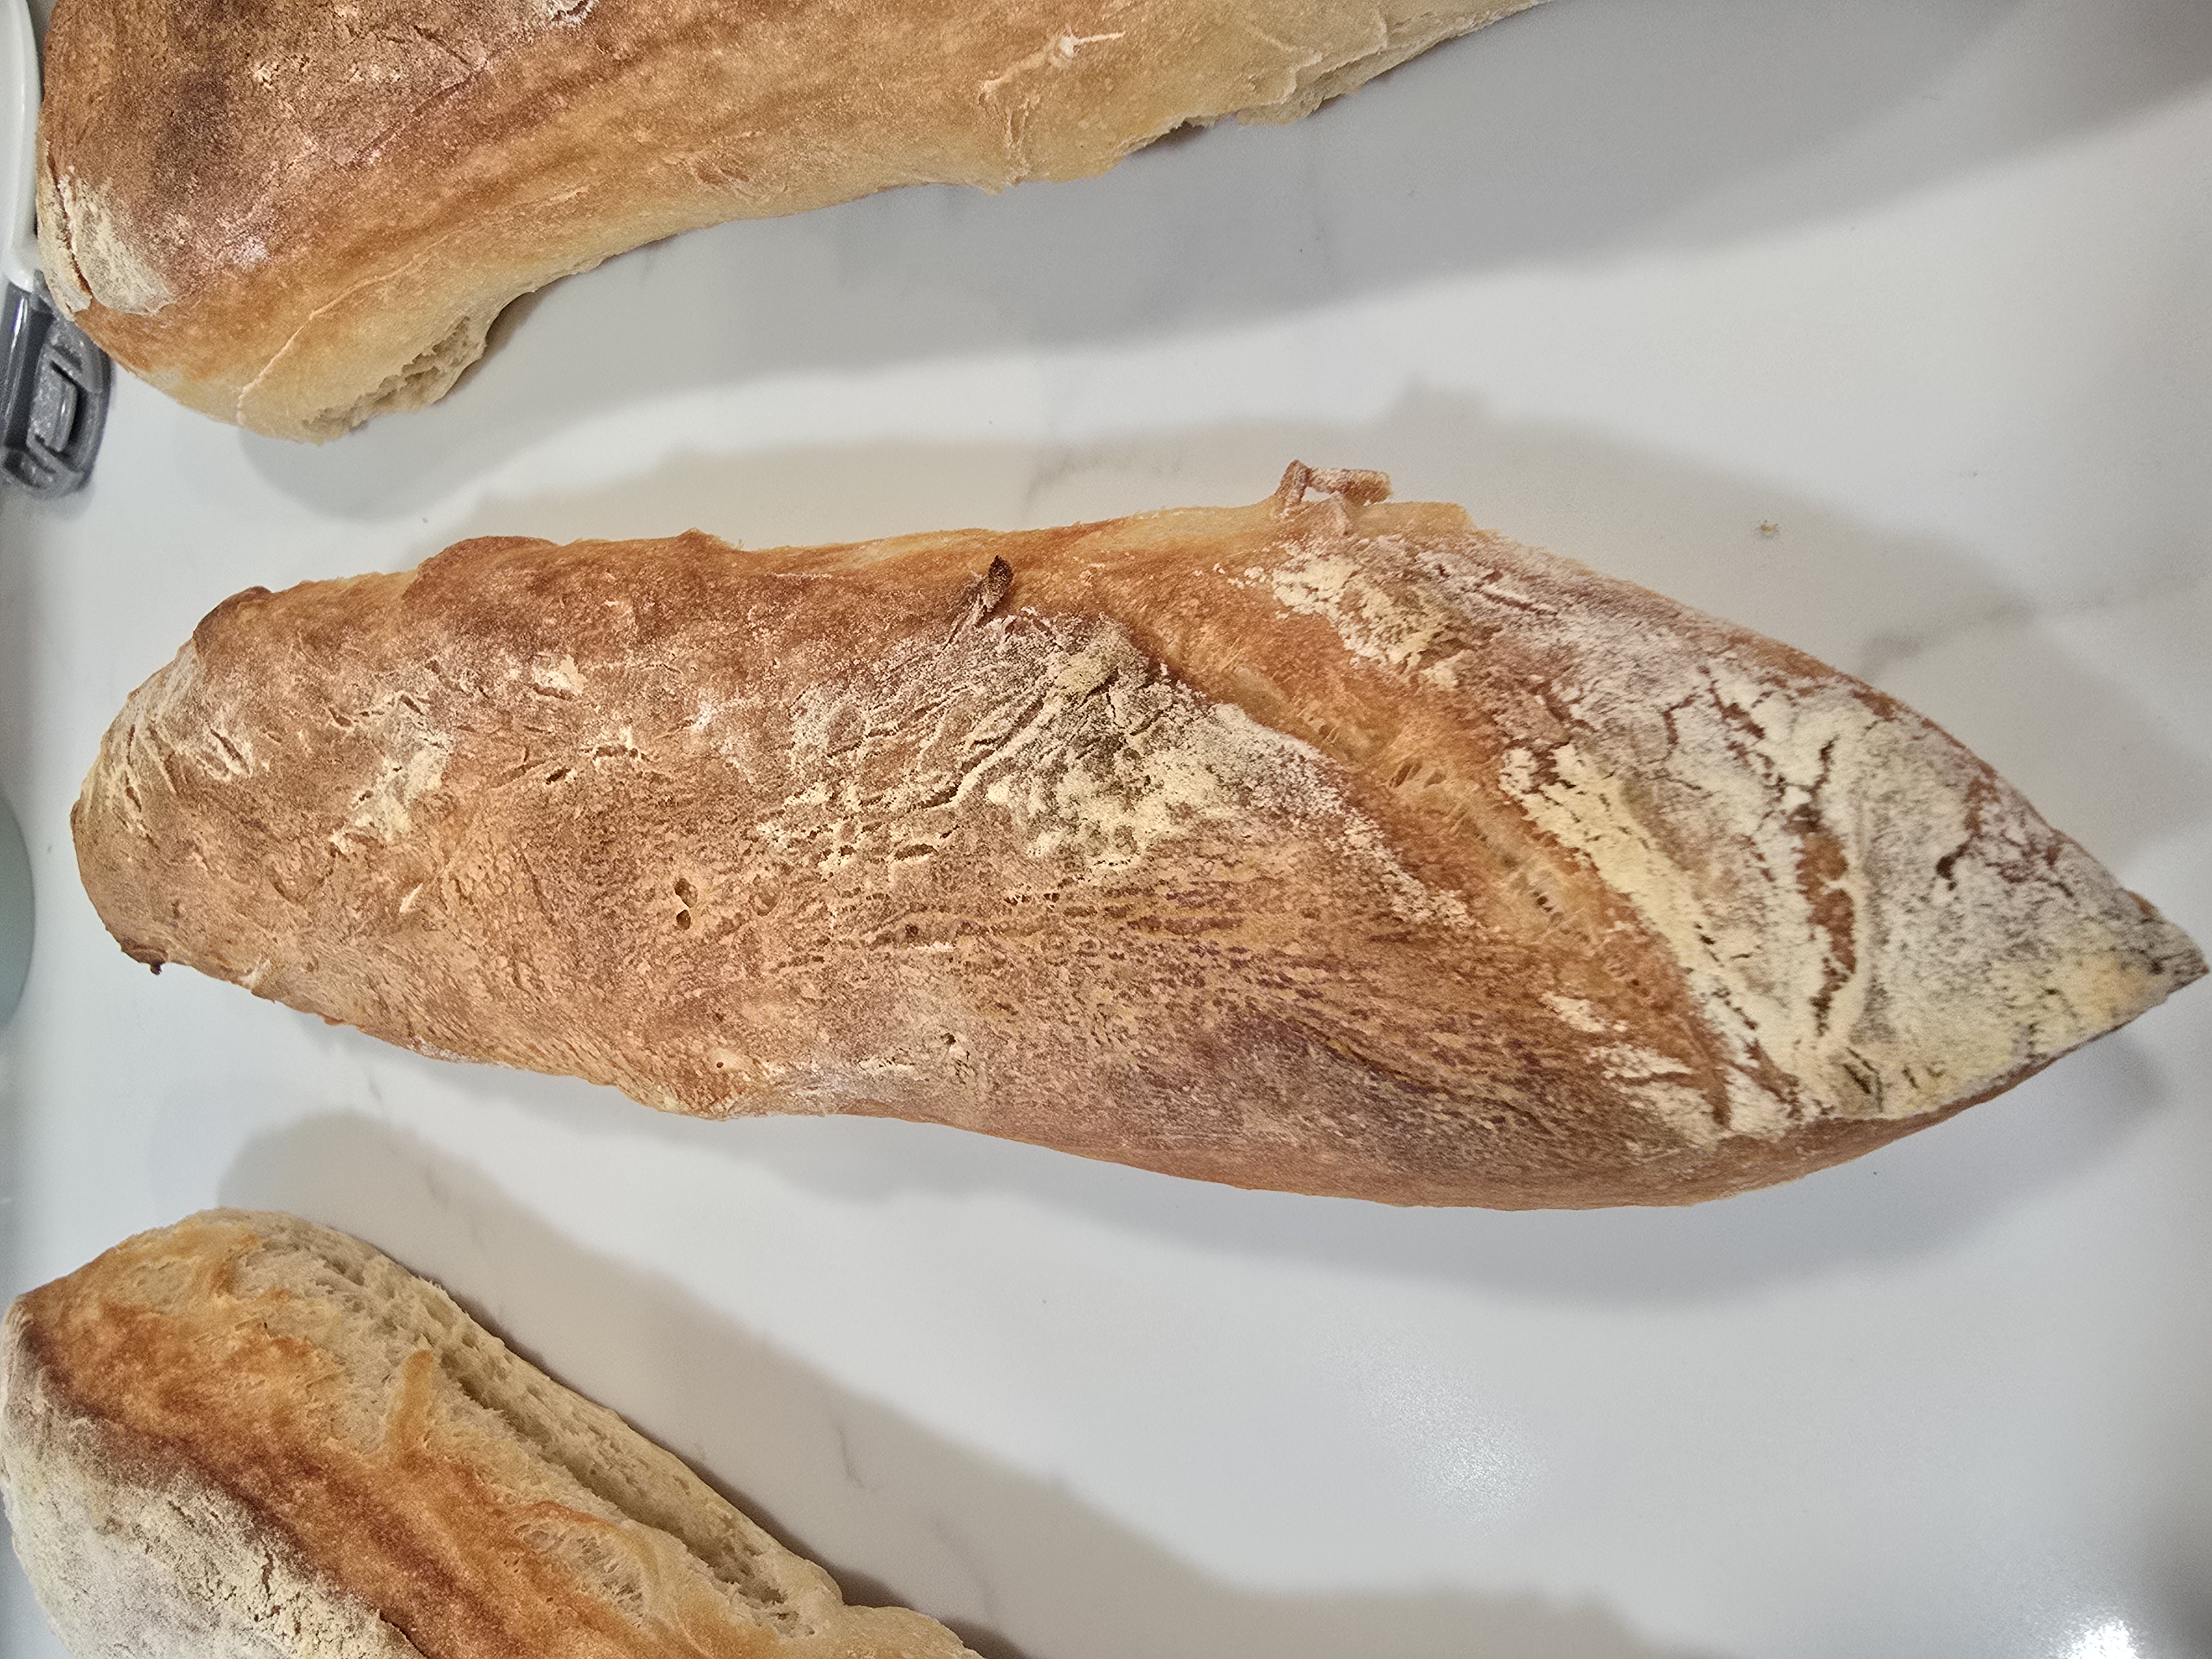
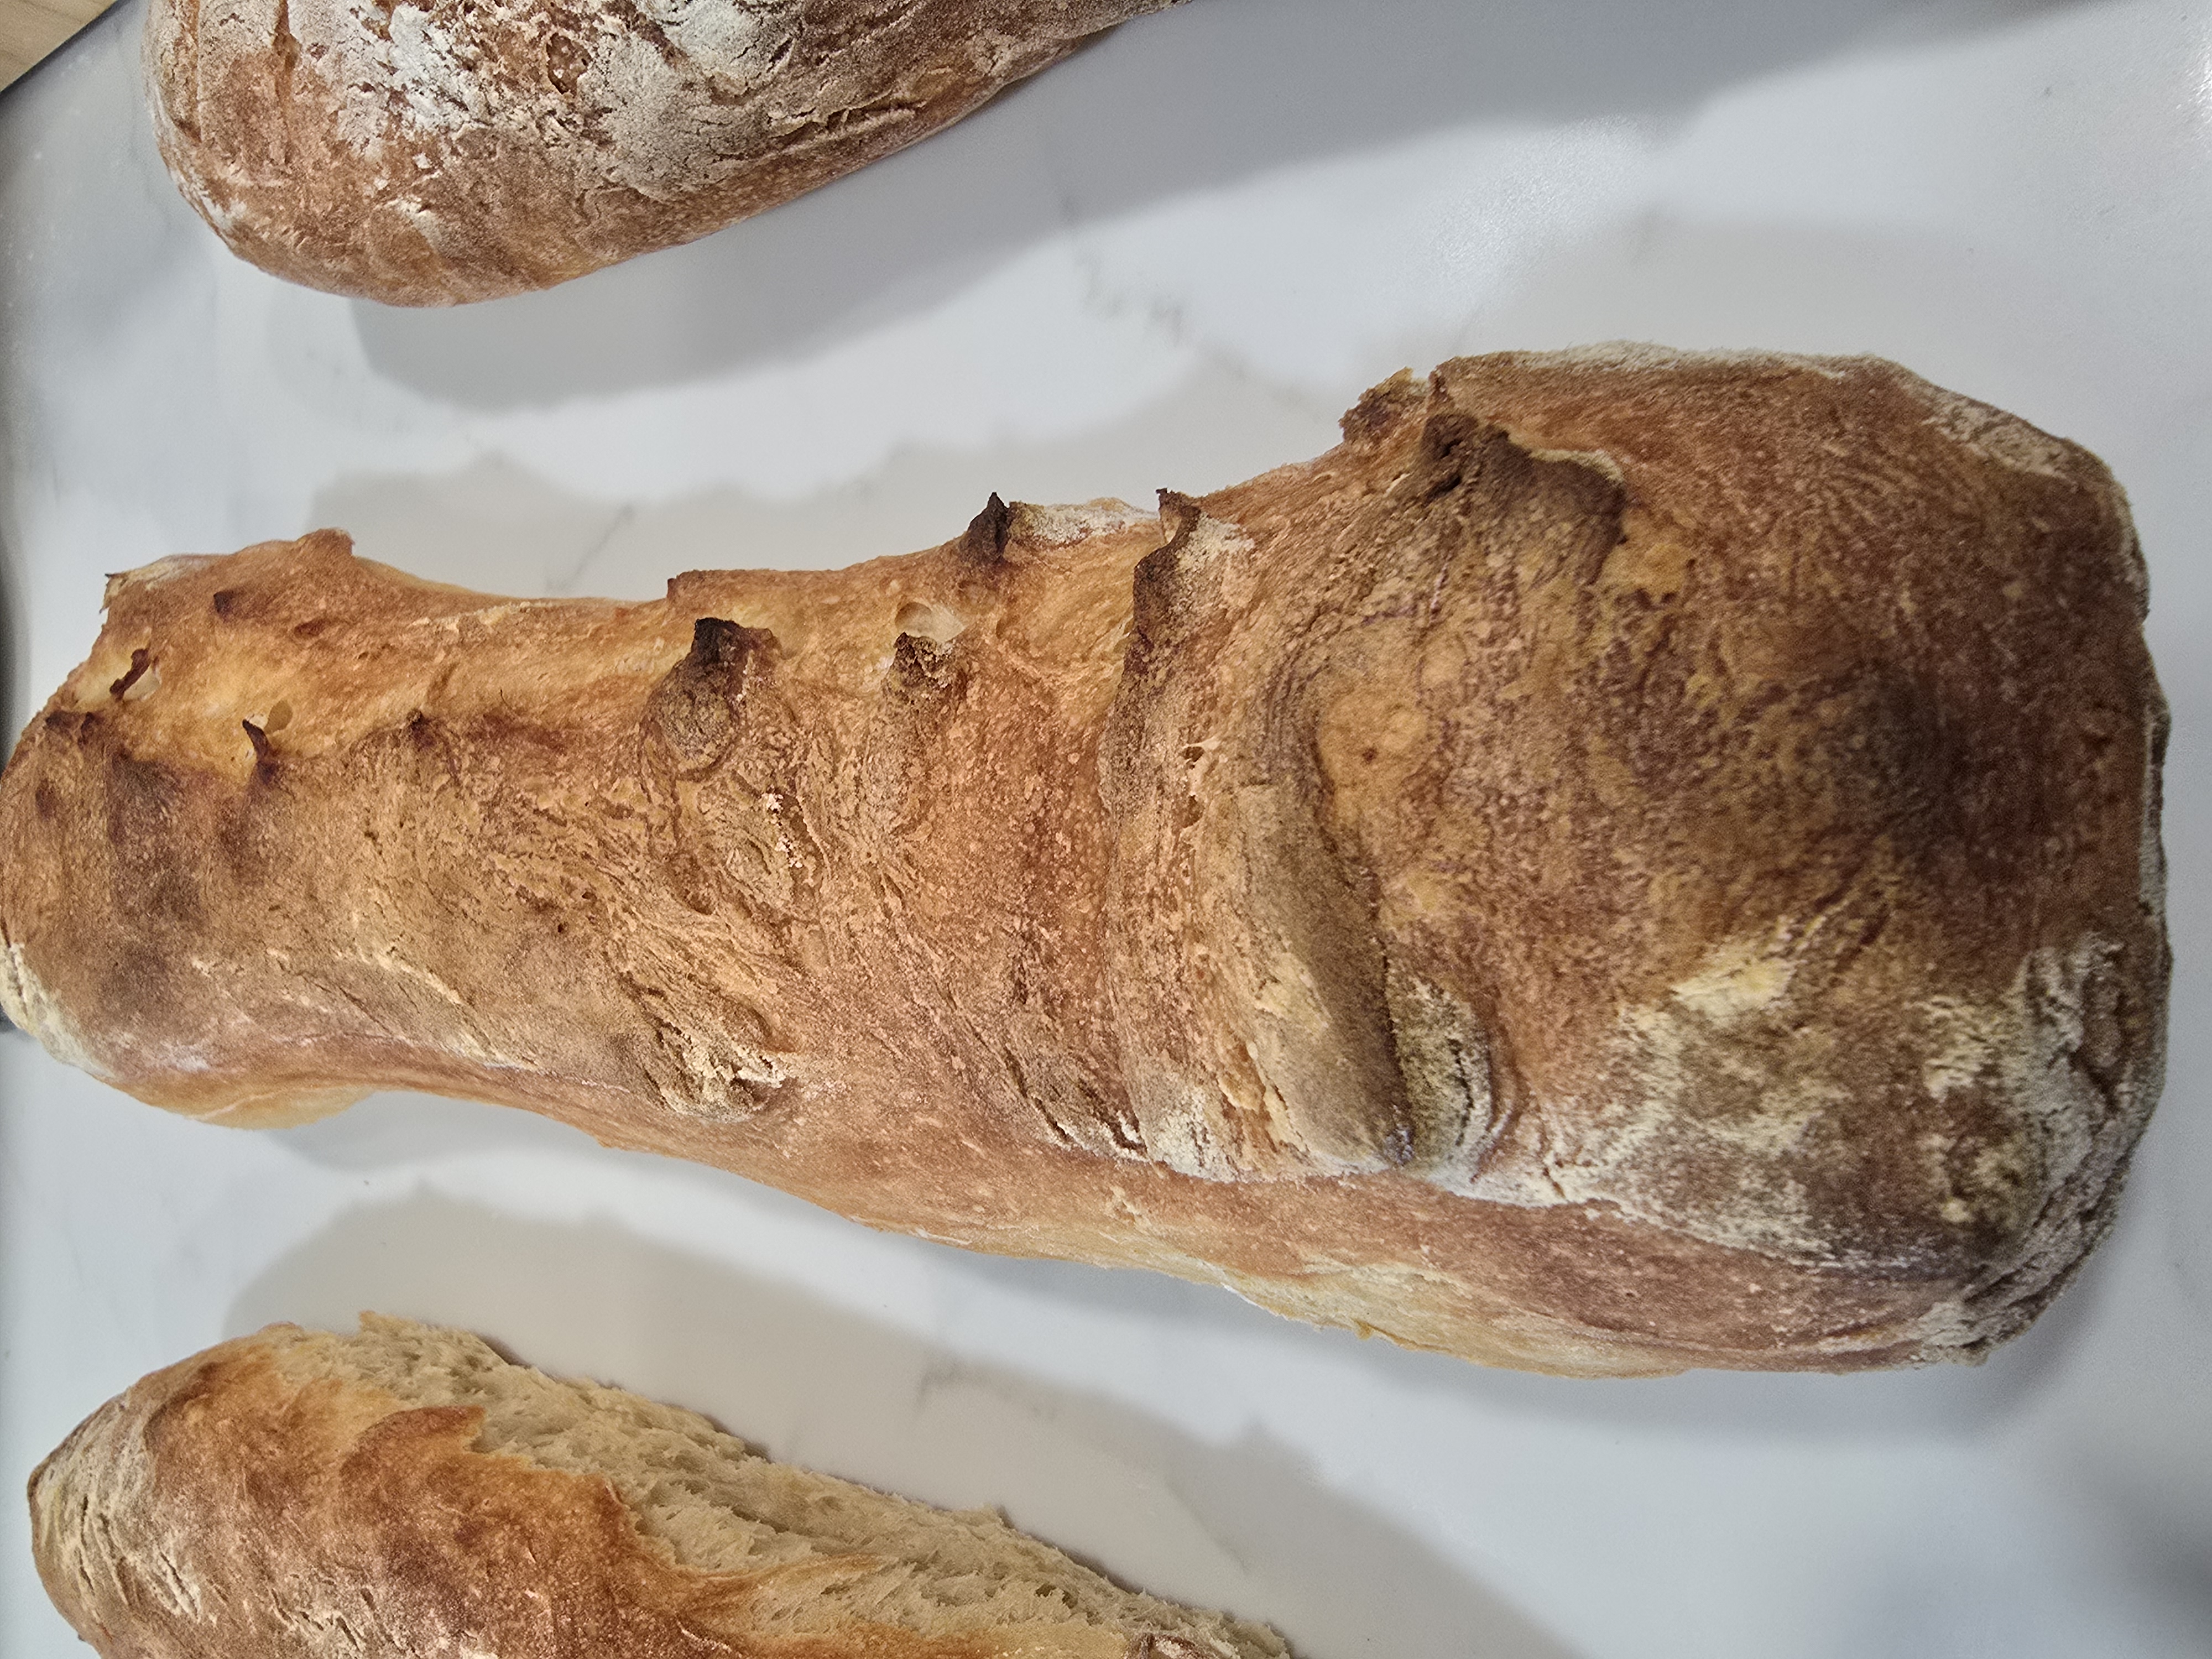
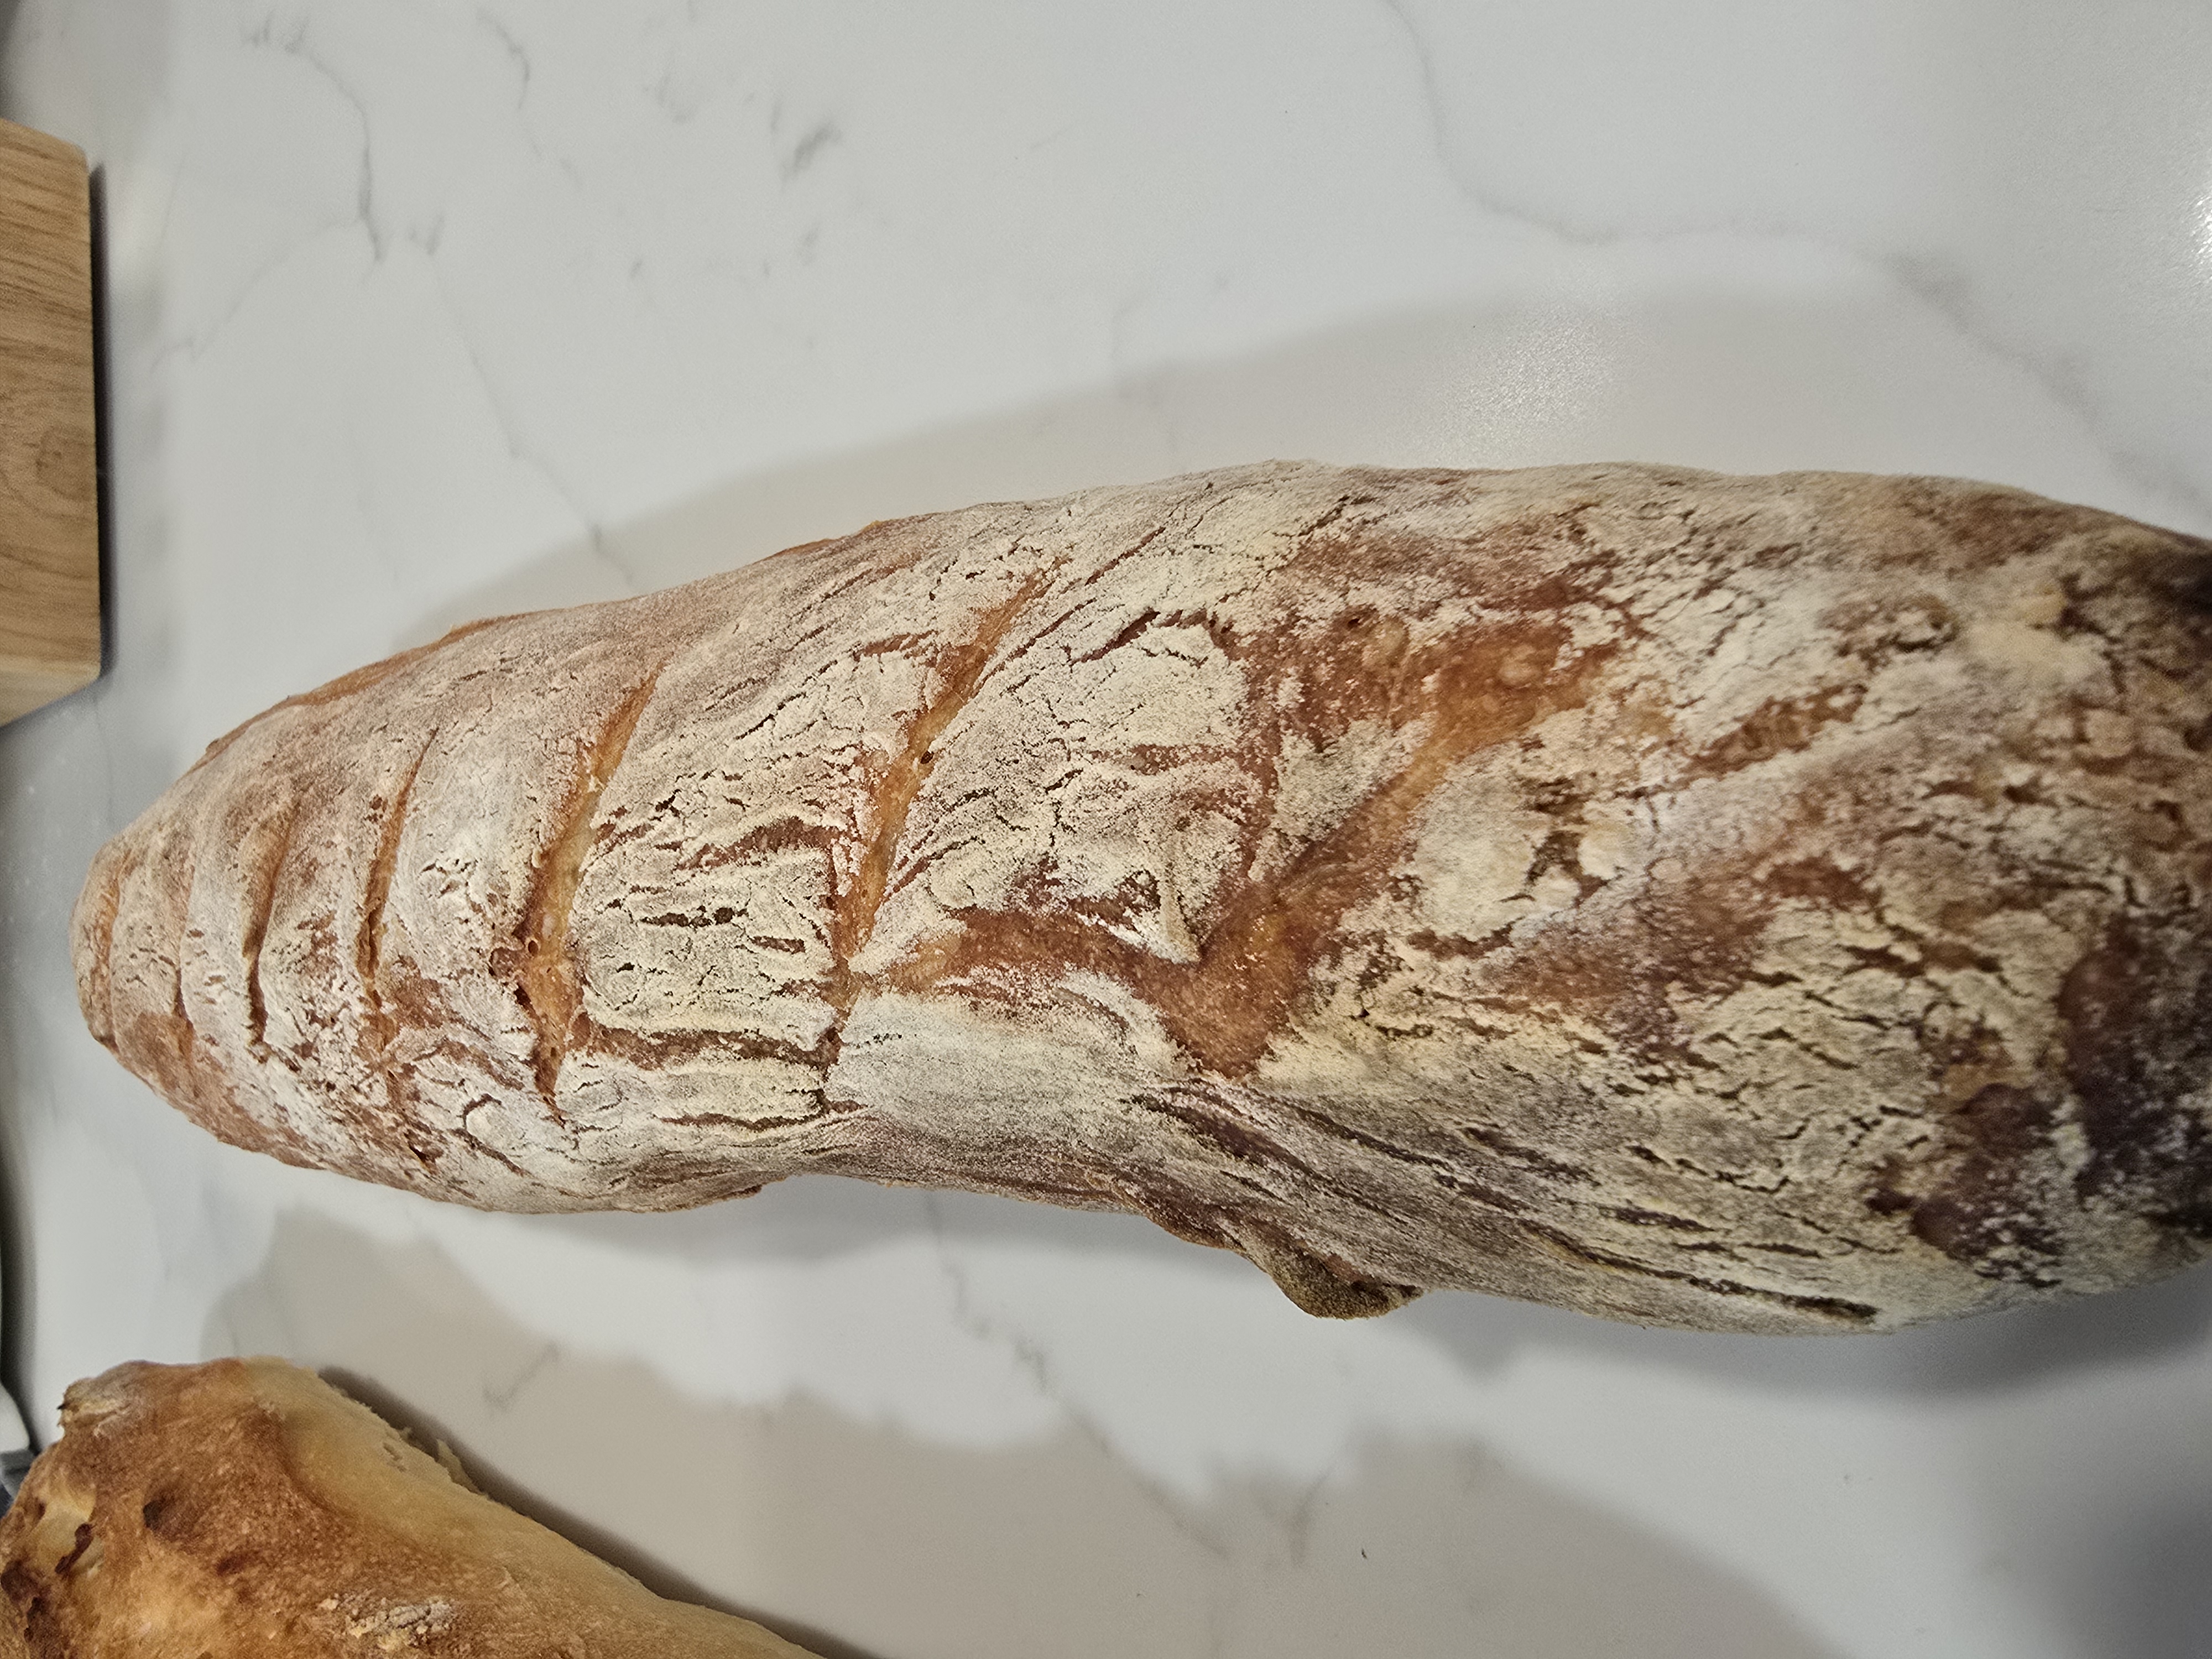
From left to right/top to bottom, I have a Control Baguette (which was cut from the center of the dough blob in step 2.2), an edge baguette that was spritzed with water, a center baguette that was sliced along the length and spritzed with water, and an edge baguette that was just sliced. I sprayed the two test baguettes evenly on top before putting them into the oven.
I used a pumpkin carving knife to make the steam slices in the baguettes, and I think if I'd used a kitchen razor (or a "lame",[2] which is French for "not cool"), I could have gotten deeper cuts without putting too much pressure on the bread. I also could have tried a small serated knife.
I would say that the texture difference was not significant in this test; it largely came down to appearance.